How to Wire a Camper Van: Fuse Block, Cables and Lights
As an Amazon Associate I earn from qualifying purchases. Some links on this page earn us a small commission, at no extra cost to you. Full disclosure.
Wiring a camper van is not hard, but it is the one DIY job where a small mistake can start a fire. The idea is simple: the battery feeds one fuse block, and the fuse block feeds your lights, pump and sockets, each on its own protected wire. We explain how to wire a camper van: how the cables run and how fuse and wire sizes are chosen, using the manuals from Victron and Blue Sea Systems. It is general explanation, not an installation manual: have a qualified installer check the job. Power sources are in our solar panel guide and power station guide.
Quick answer
A safe camper wiring job needs a main fuse at the battery, a fuse block that gives every circuit its own fuse, stranded marine-grade copper wire crimped with the right tool, and a smoke alarm and extinguisher. All sixteen parts are below, in wiring order.
All sixteen, with a buy button each
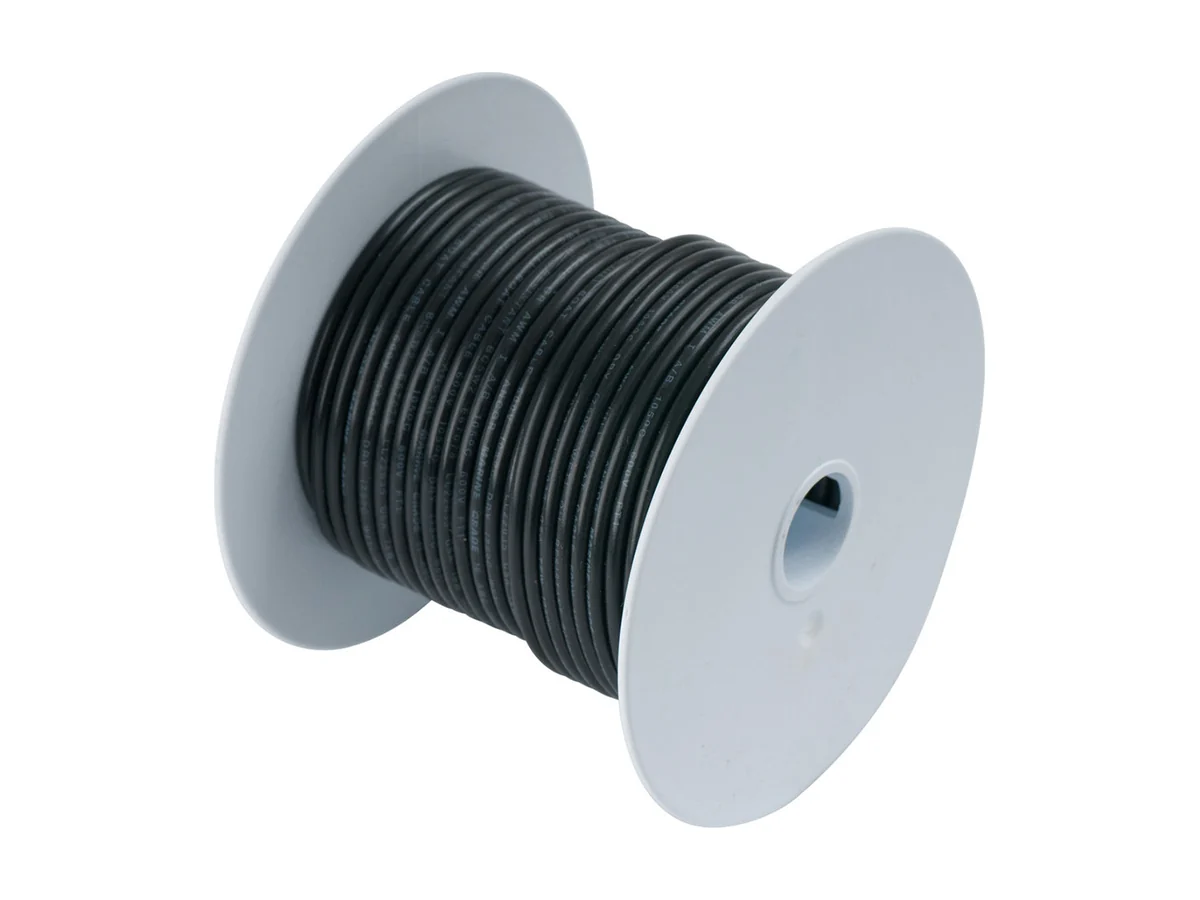
Ancor 2 AWG Tinned Copper Battery Cable
Marine-grade tinned stranded copper for the main runs. Read more
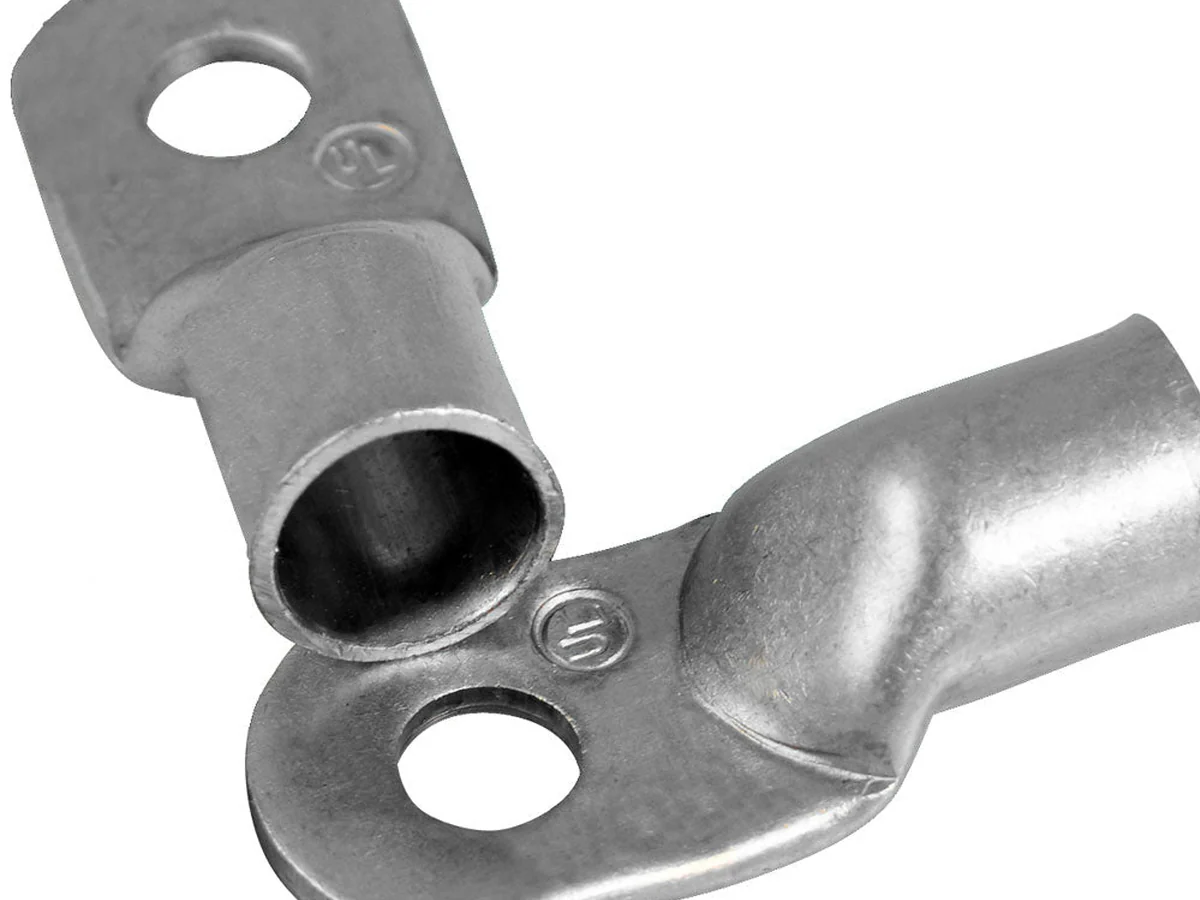
Ancor Heavy Duty Lugs, 2 AWG, 5/16" Post
Tinned copper ring lugs that crimp onto the cable. Read more
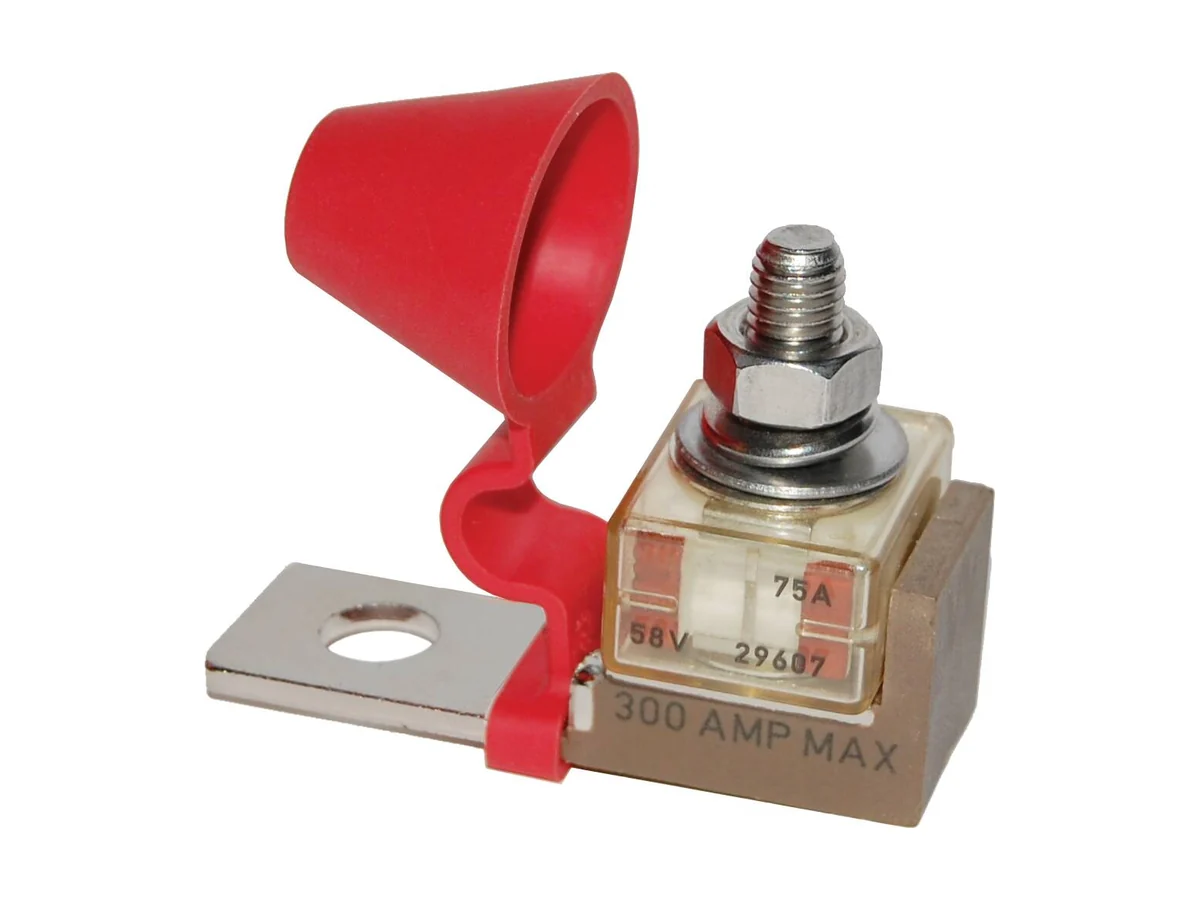
Blue Sea Systems 5191 MRBF Terminal Fuse Block
Bolts onto the battery terminal, so the main fuse sits at the battery. Read more
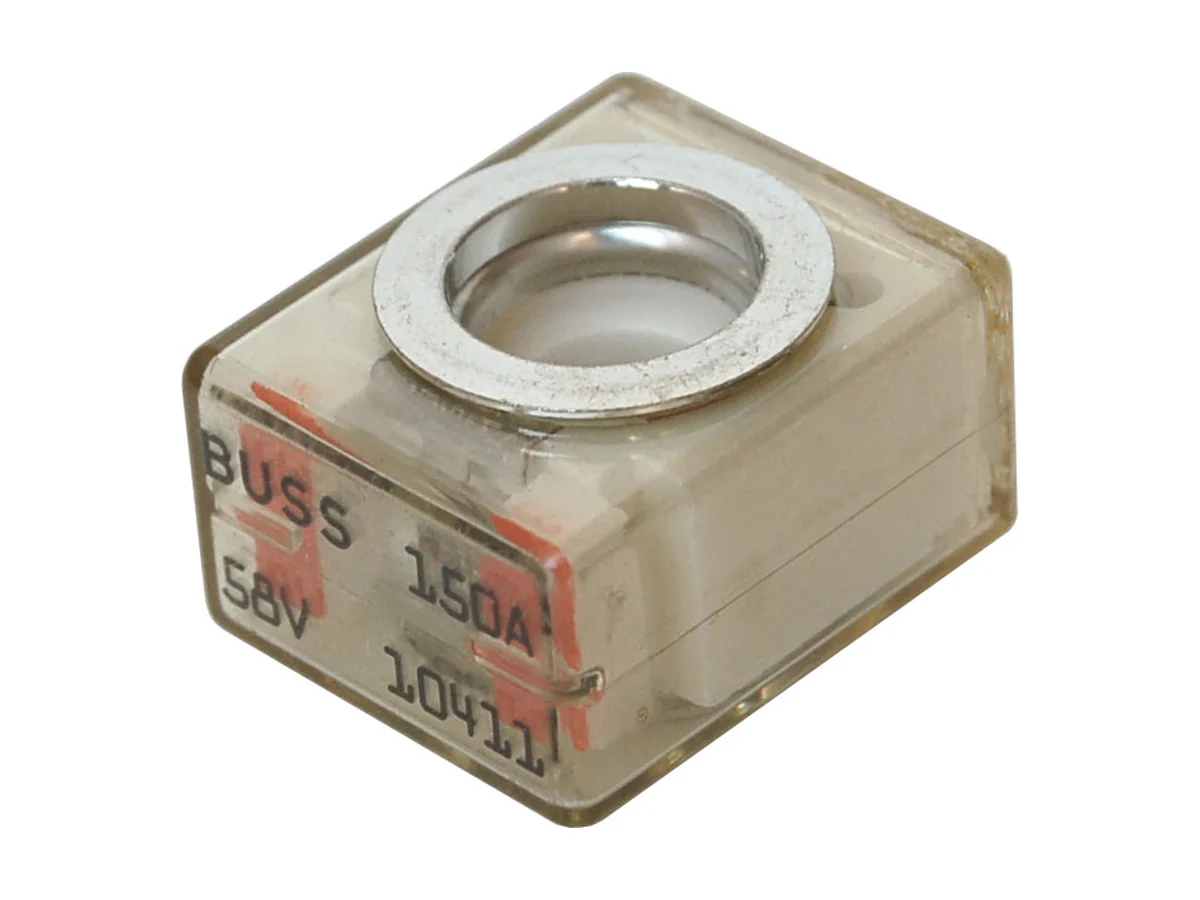
Blue Sea Systems MRBF Terminal Fuse, 150A
The fuse for that holder, sold separately. Read more
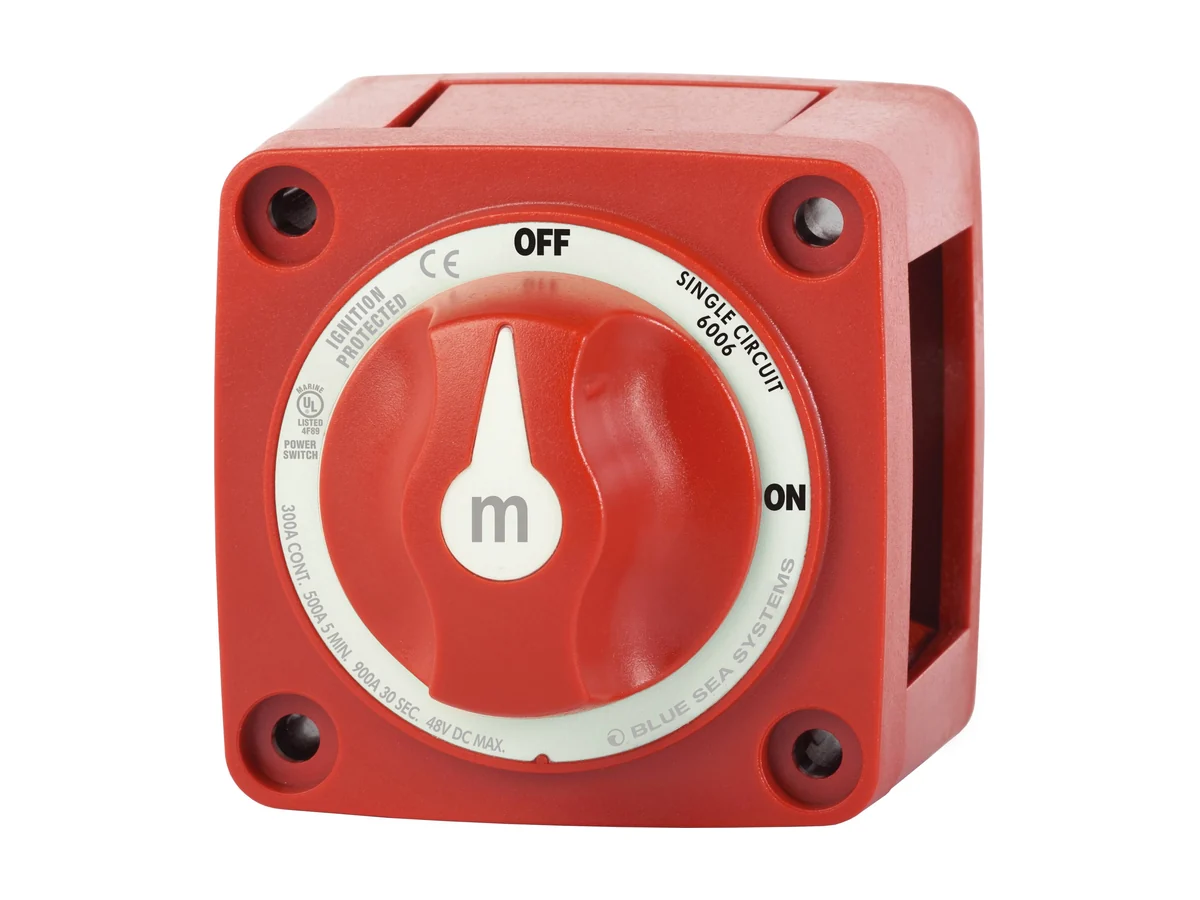
Blue Sea Systems 6006 m-Series Battery Switch
On-off switch for the positive cable. Read more
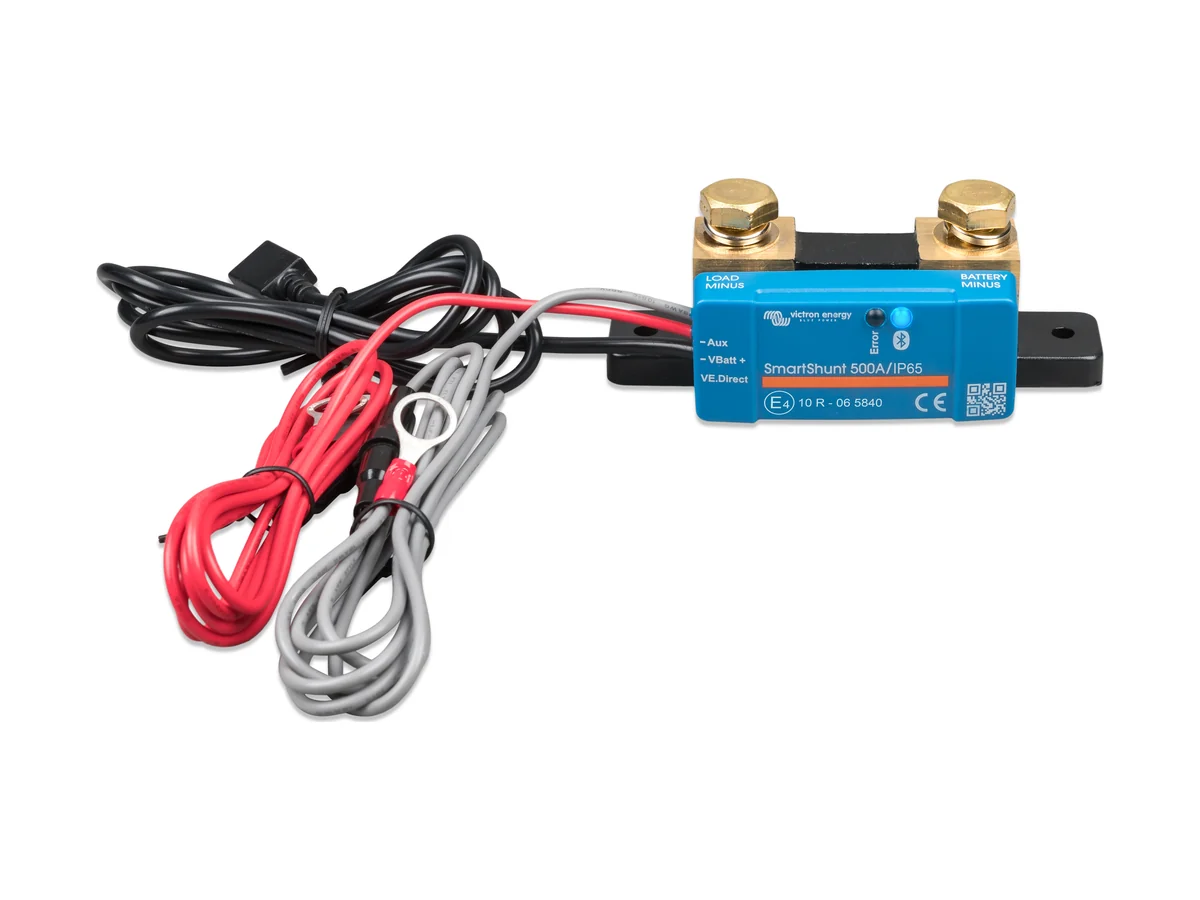
Victron SmartShunt 500A Battery Monitor
Battery state and current on your phone, over Bluetooth. Read more
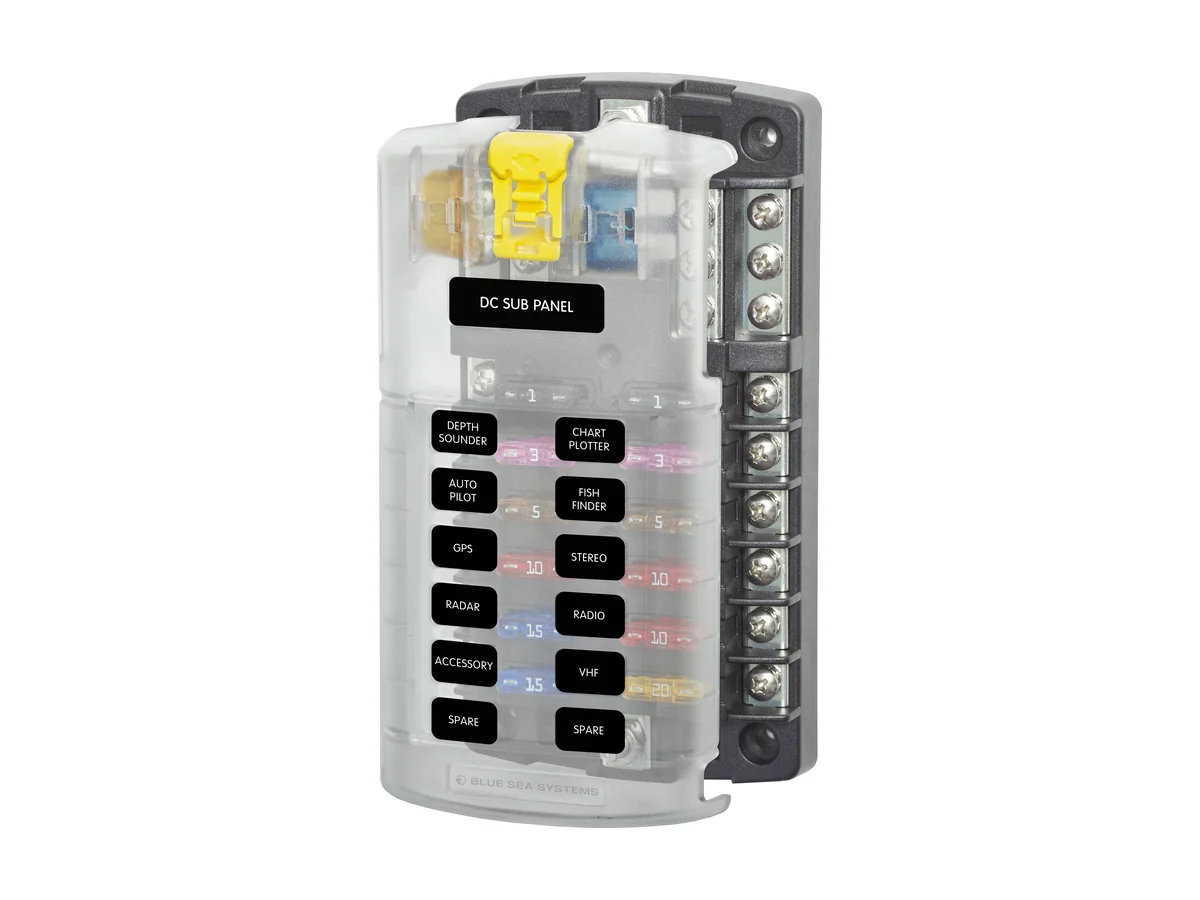
Blue Sea Systems 5026 ST Blade Fuse Block, 12 Circuits
Twelve fused circuits plus a negative bus in one block. Read more
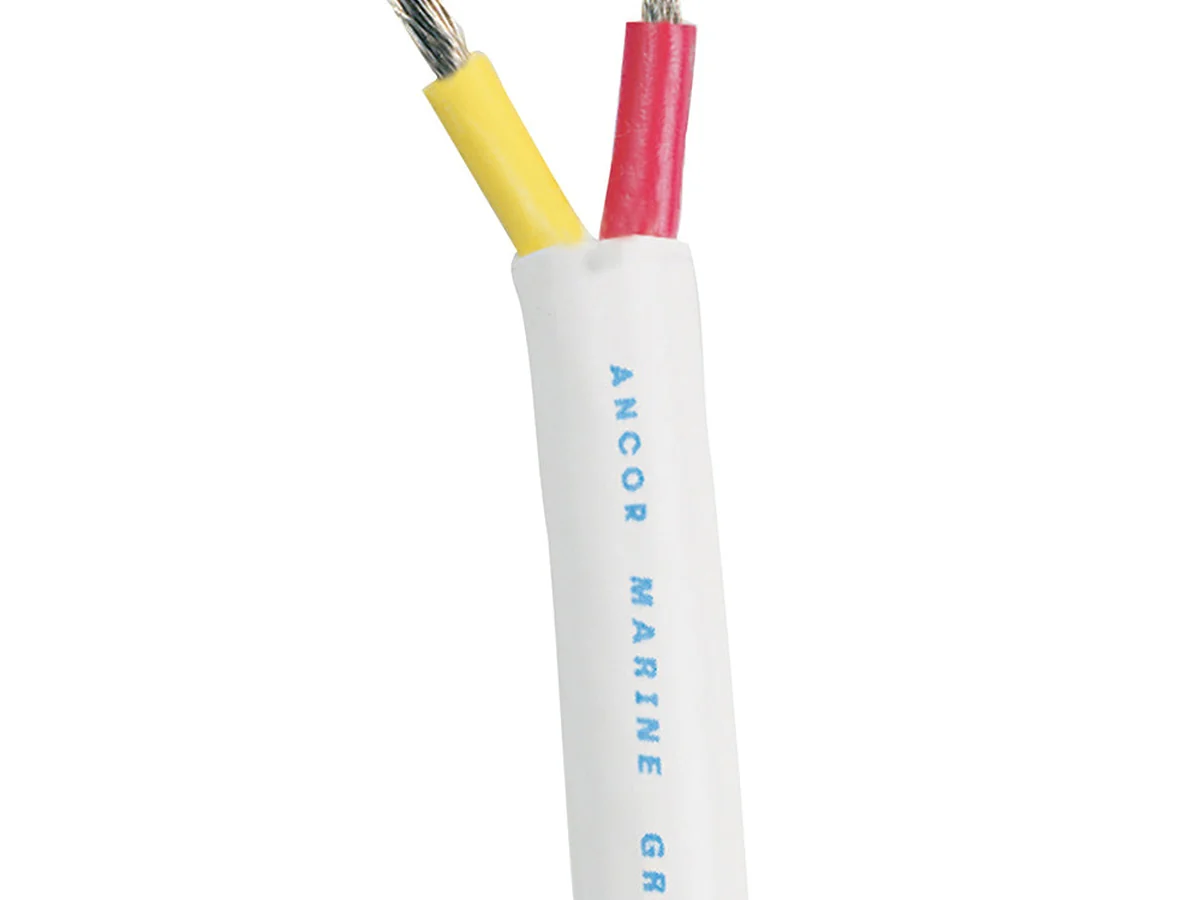
Ancor 14/2 Safety Duplex Cable
Two-conductor tinned wire for lights and small circuits. Read more
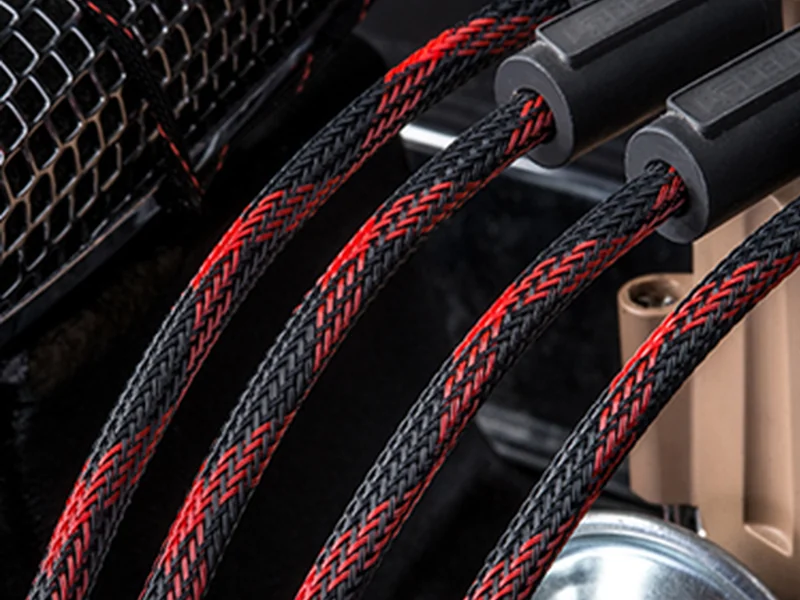
Techflex Flexo PET Braided Sleeve, 1/2"
Braided sleeve against rubbing and chafing. Read more
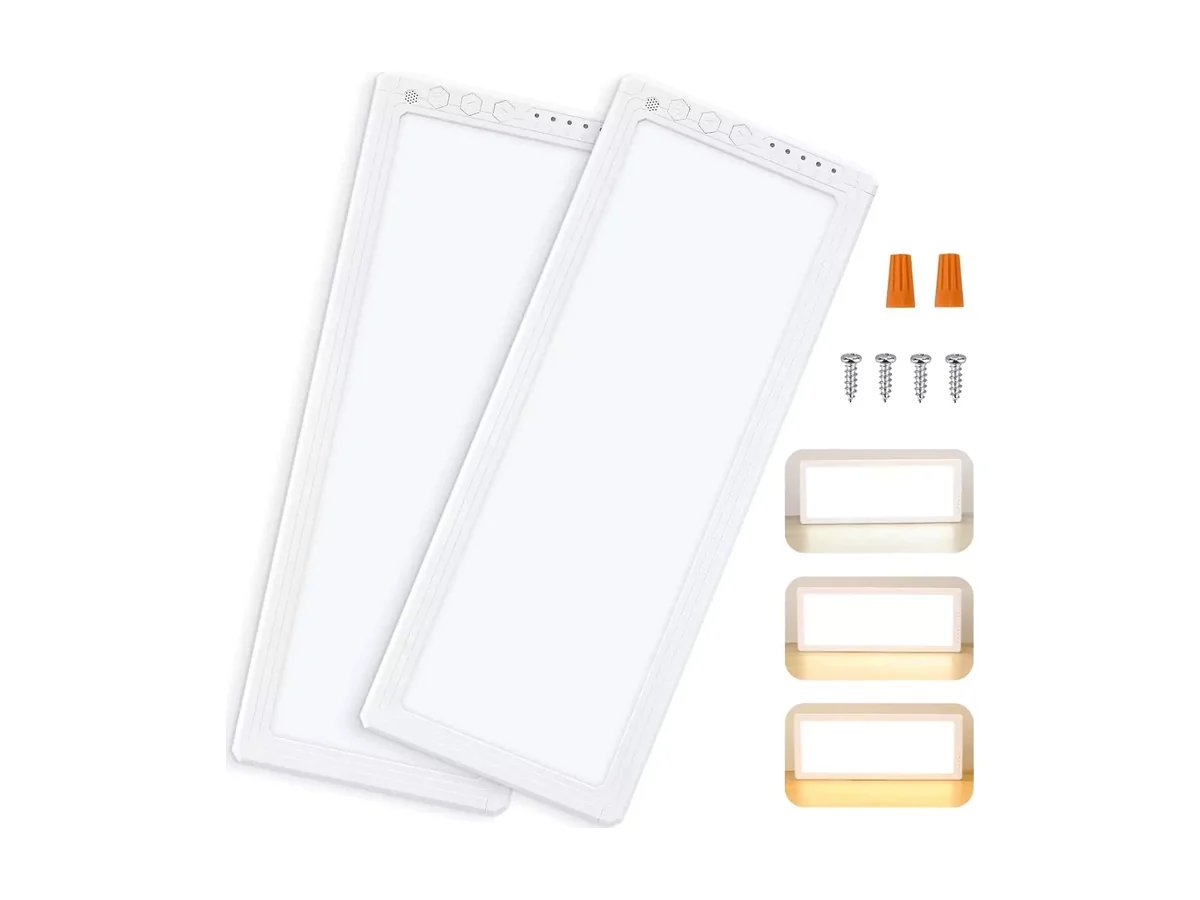
Kohree 12V Dimmable RV Interior Light, 2 Pack
12V ceiling lights with five dimming levels. Read more
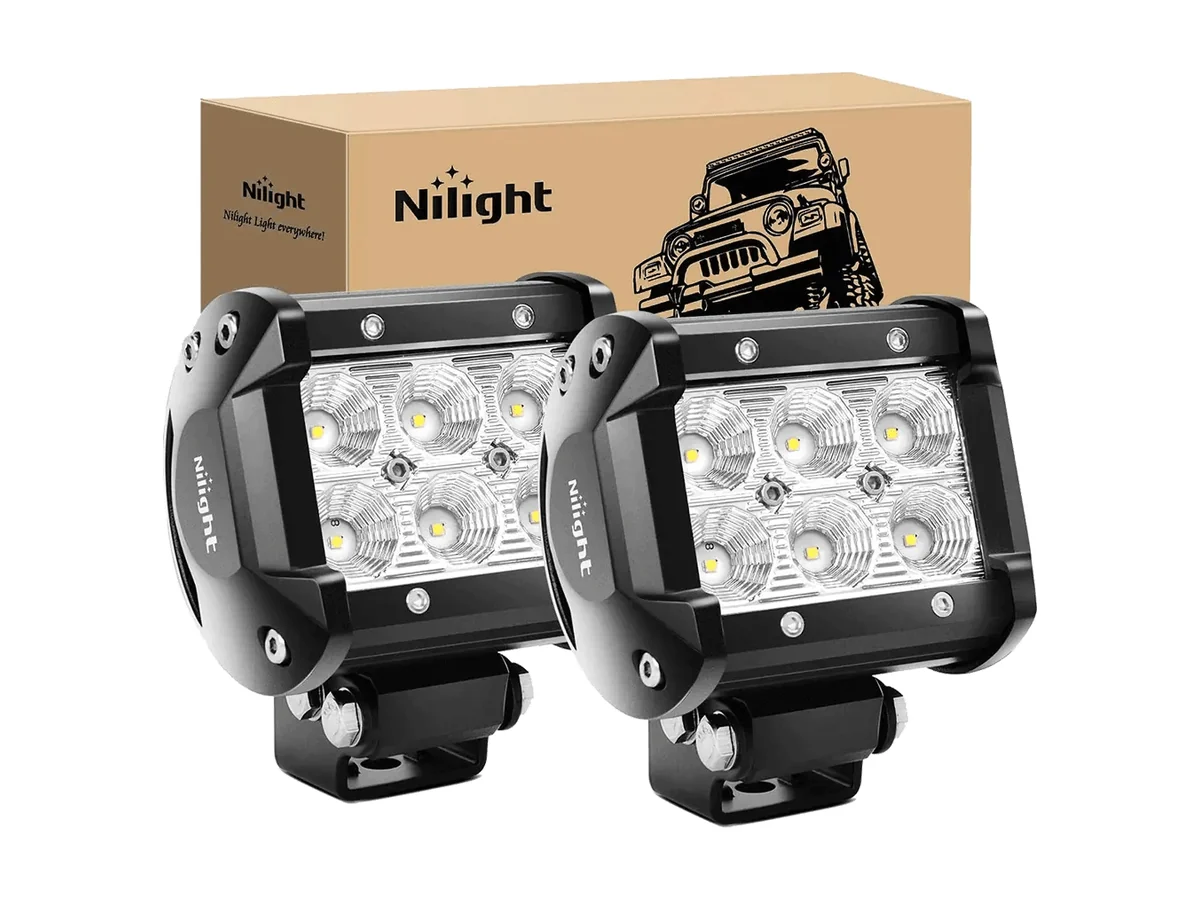
Nilight 18W Flood LED Pods, 2 Pack
Two 12V flood pods, rated IP67 by Nilight. Read more
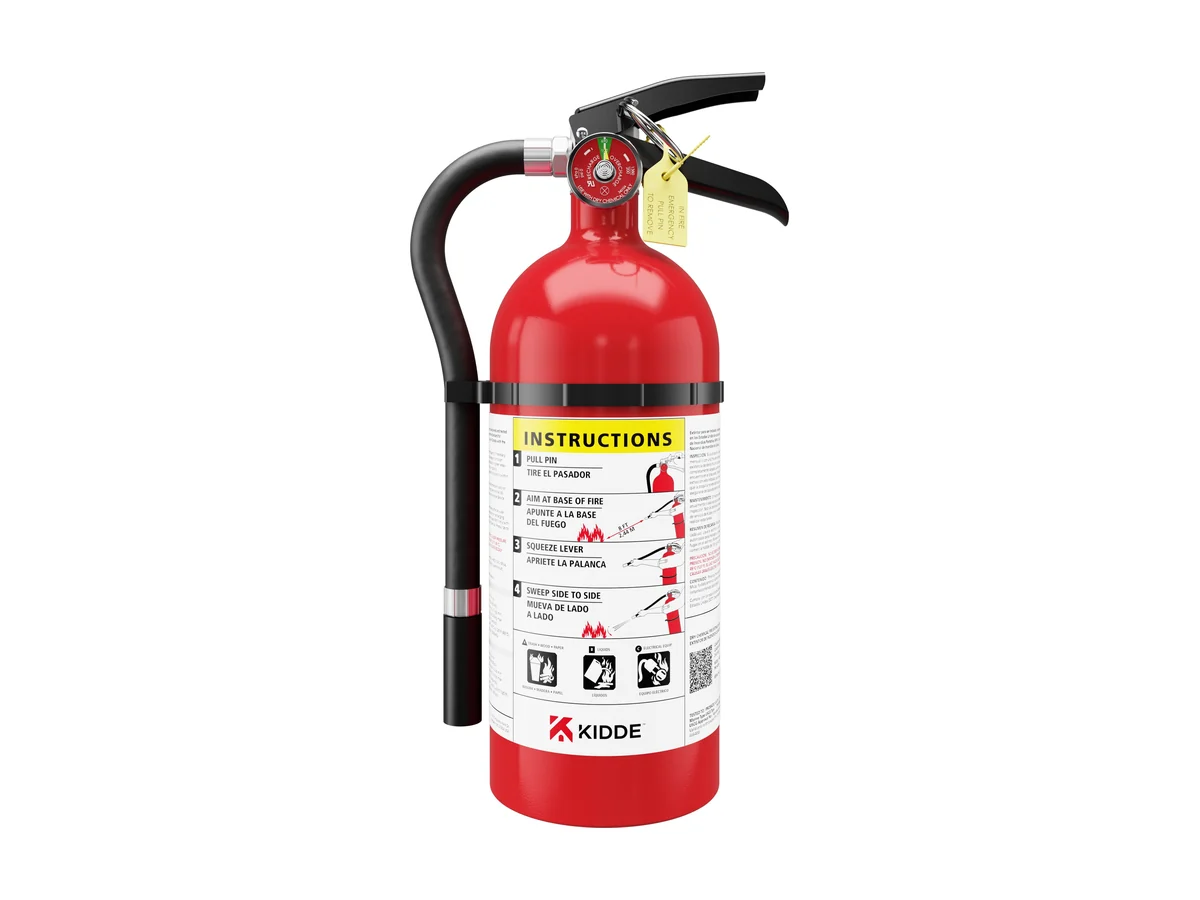
Kidde Pro 210 Fire Extinguisher, 2-A:10-B:C
Rechargeable 4 lb dry chemical extinguisher. Read more
How the Power Flows in a Camper Van
- Solar panelOn the roof, or portable on a long cable.
- Fuse, then charge controllerVictron says a fuse is needed between a solar panel array and the solar charger; local rules vary.
- BatteryVictron warns that shorting a battery can cause a fire or an explosion.
- Main fuse, right at the batteryVictron: a DC system should always have one, before it branches off to the consumers. A main switch is optional, positive cable only.
- Fuse block (positive) and busbar (negative)Each circuit gets its own fuse and its own wire back. Victron: every consumer needs its own fuse, however small.
- The loadsLights, sockets, fridge, pump. A battery monitor sits in the negative cable; Victron says a shunt is typically placed there.
The orange steps are where a fuse belongs. Cooking is a separate job: gas hobs and 230 V hobs fall under rules that differ by country, so they belong with an installer. This guide is 12 V only. To choose the controller itself, see Victron vs Renogy charge controller.
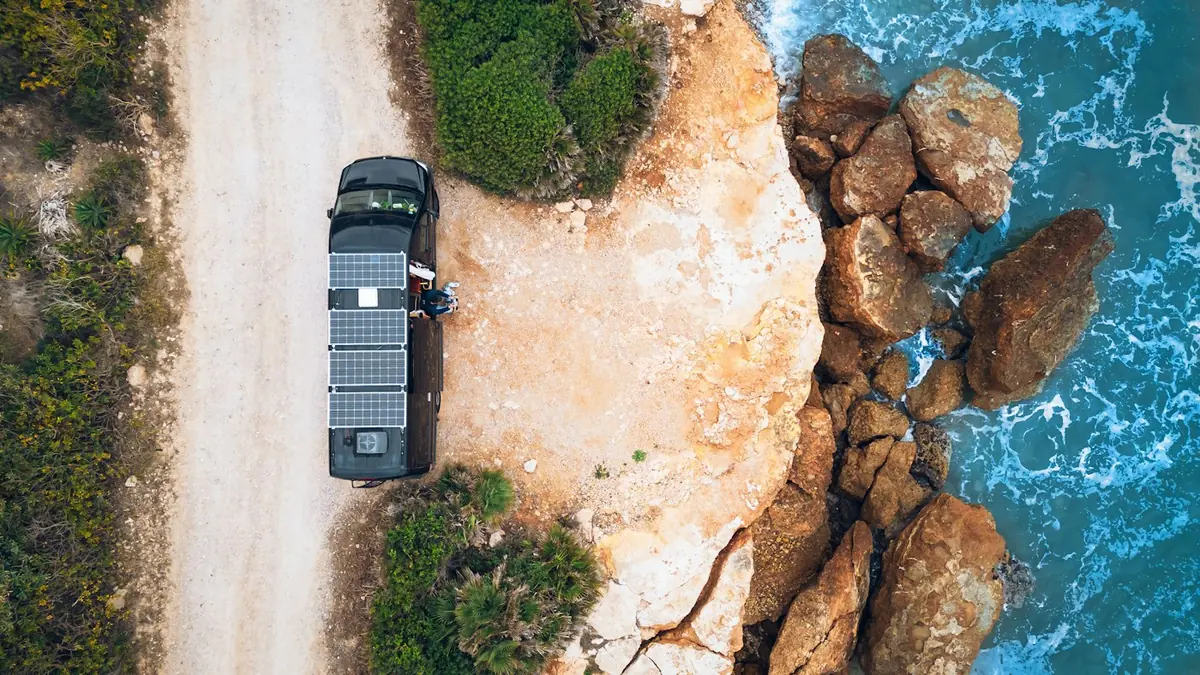
The Parts, in the Order You Wire Them
1. Battery cable: thick, stranded, tinned copper
Ancor 2 AWG Tinned Copper Battery Cable
Blue Sea Systems says quality marine wire is stranded, tin-plated copper, and that a wire that is too small can overheat and possibly start a fire. The Ancor tinned copper battery cable fits: Ancor says it meets UL 1426 and ABYC standards, with insulation rated 105 °C dry. We show 2 AWG, but size yours from your loads and cable length. Buy a red one for positive too, so plus and minus differ by colour.
2. Lugs: the ring at the end of each thick cable
Ancor Heavy Duty Lugs, 2 AWG, 5/16" Post
Victron says to use quality lugs and the right crimping tool, because a bad crimp adds resistance and heat. The Ancor heavy duty lugs are annealed tinned copper with a seamless barrel, for 2 AWG wire and a 5/16-inch stud. Match lug, cable and stud.
3. Crimper: pliers do not make a crimp
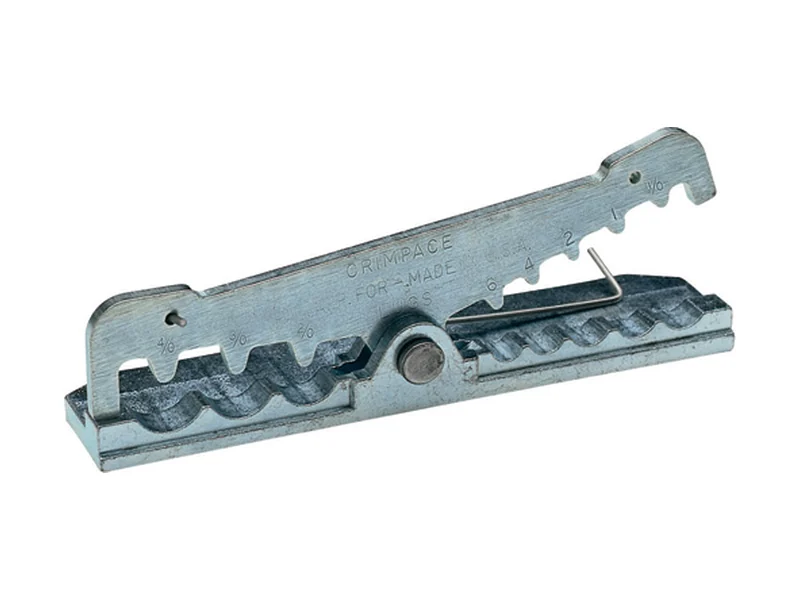
Ancor 701010 Heavy Duty Lug Crimper
Victron: crimp with a proper tool, then give the wire a small tug. The Ancor 701010 lug crimper crimps lugs from 6 to 4/0 AWG with a hammer or in a vise, and Ancor says it makes UL approved crimps. For small terminals on thin wires, Victron points to a ratcheting crimping tool.
4. Main fuse holder: bolted to the battery
Blue Sea Systems 5191 MRBF Terminal Fuse Block
Blue Sea cites the ABYC rule that overcurrent protection sits within seven inches (175 mm) of the battery connection, and presents its MRBF terminal fuse as a way to meet it. The Blue Sea 5191 terminal fuse block mounts on a 3/8-inch stud on a battery, battery switch or busbar, takes 5/16-inch ring terminals, handles 30 to 300 A at up to 58 V DC and has an insulating cap. The fuse is sold separately.
5. Main fuse: the rating comes from your cable
Blue Sea Systems MRBF Terminal Fuse, 150A
The 150 A MRBF terminal fuse is an example, not advice for your van: in Blue Sea's chart a single 4 AWG wire outside an engine room tops out at 150 A, a ceiling, not a target. Use the three steps below, and never mount the fuse straight on the terminal (Blue Sea). With lithium batteries, Victron calls it mandatory that at least one fuse can interrupt the bank's maximum short-circuit current, so ask the battery maker which fuse to use. Still choosing the battery? Our lithium vs AGM battery comparison sets the makers' weight, cycle and cold-charging numbers side by side.
6. Main switch: optional, but handy
Blue Sea Systems 6006 m-Series Battery Switch
Victron says a switch helps for maintenance or storage, but removing the main fuse also isolates the battery. If you fit one, switch only the positive cable and check it can break DC under load, because some cannot. The Blue Sea 6006 m-Series switch is a single-circuit on-off switch rated 300 A continuous at up to 48 V DC.
7. Battery monitor: know what is left
Victron SmartShunt 500A Battery Monitor
A shunt measures current in and out of the battery, which gives the state of charge. Victron says it sits in the negative cable and must be rated for your maximum DC current (it lists 300 to 2000 A versions). The Victron SmartShunt works from 6.5 to 70 V, and its app shows state of charge, time remaining, voltage and current.
8. Busbar: one tidy meeting point
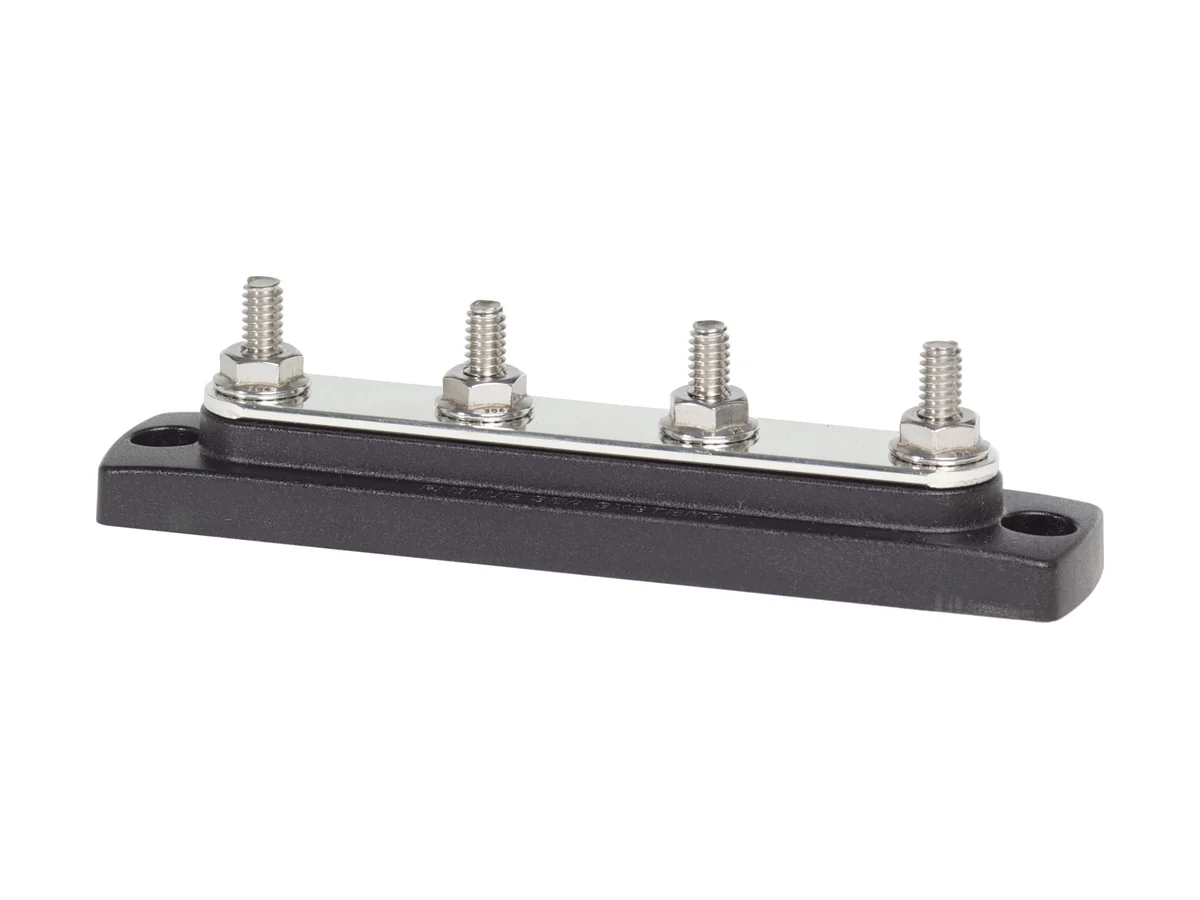
Blue Sea Systems 2303 BusBar, 4 x 1/4" Studs
Victron lists busbars among the ways to cut voltage drop, because fewer connections mean less resistance. It also warns they are not insulated: cover the bar, use insulated tools and take off metal jewellery. The Blue Sea 2303 busbar has four 1/4-inch studs.
9. Fuse block: where every cable comes together
Blue Sea Systems 5026 ST Blade Fuse Block, 12 Circuits
This is the block Chenzo described: the cables for the inside lights, outside lights and other 12 V loads all meet here, each on its own fuse. The Blue Sea 5026 fuse block has 12 circuits, up to 30 A per circuit and 100 A per block at up to 32 V DC, a negative bus for the returns, and a cover that meets ABYC and USCG insulation requirements. Label every circuit the day you wire it.
10. Blade fuses: sized to the wire
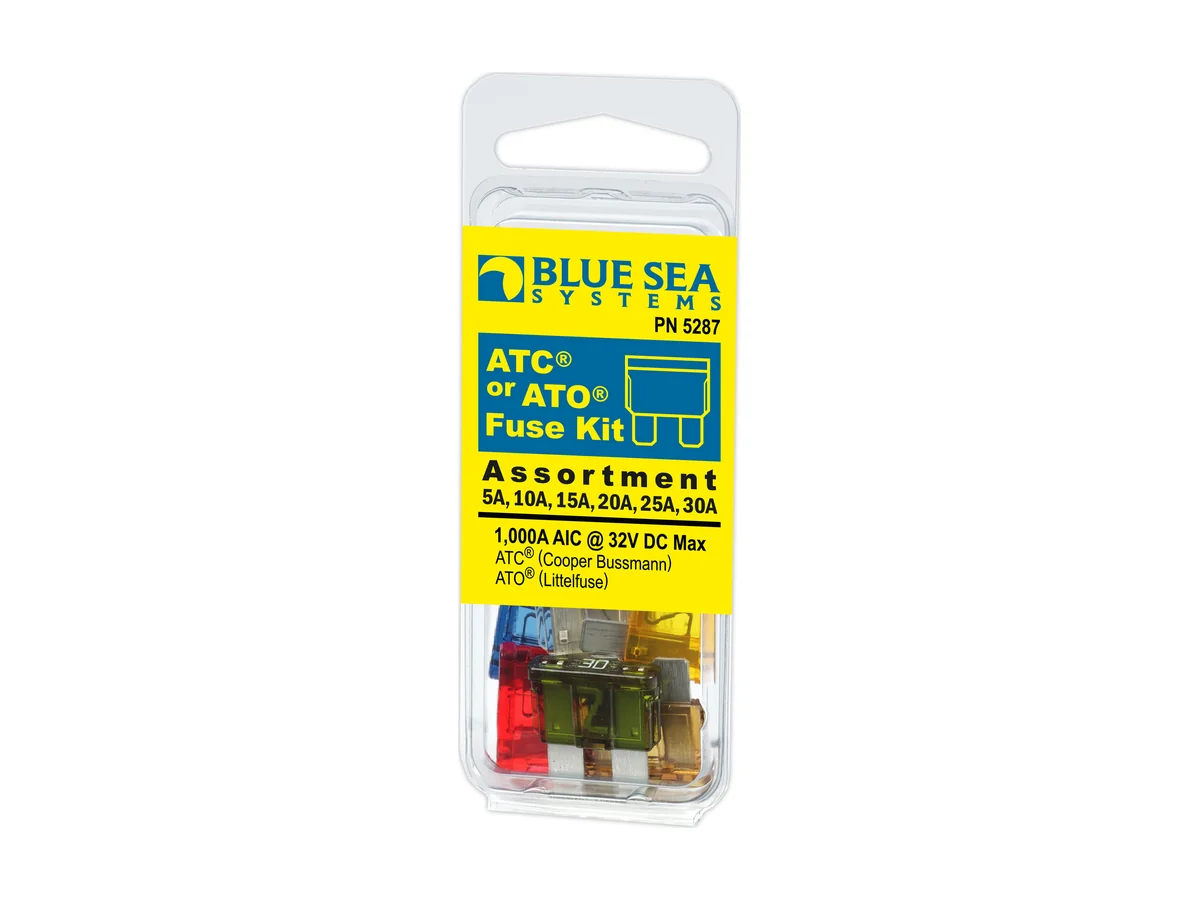
Blue Sea Systems 5287 ATC Fuse Kit
The block ships without fuses. The Blue Sea 5287 fuse kit covers 5, 10, 15, 20, 25 and 30 A.
11. Wire for lights: one pair per circuit
Ancor 14/2 Safety Duplex Cable
Blue Sea says to measure the round trip, there and back, and to allow 3 percent voltage drop for critical circuits and 10 percent for general lighting. The Ancor 14/2 safety duplex cable has two tinned copper conductors, red and yellow, colour-coded to ABYC according to Ancor. Mark the positive before you cut. 14 AWG is only an example; check your size in the Blue Sea wire guide.
12. Sleeve: stop the rub, and think about rats
Techflex Flexo PET Braided Sleeve, 1/2"
The Techflex Flexo PET sleeve is braided PET that Techflex says resists abrasion, chemicals and UV. Victron adds two cautions: enclosed conduit traps heat, so use thicker cable or conduit open at the top, and leave slack, because tight cables and vibration loosen terminals. Plain PET will not stop the rats that ate Chenzo's cables. Techflex sells a coated Flexo Rodent Resistant version and says rodents avoided it in its own testing. That is the maker's claim, and we found no Amazon listing, so no buy button; see the Techflex page.
13. Inside lights: the easiest first circuit
Kohree 12V Dimmable RV Interior Light, 2 Pack
Kohree says its dimmable RV interior light uses 15 W, runs on 12 to 30 V, has five brightness levels and three colour temperatures, and has two wires without polarity. At 12 V, 15 W is about 1.25 A per light (watts divided by volts).

14. Outside lights: their own fuse and switch
Nilight 18W Flood LED Pods, 2 Pack
A separate circuit keeps a fault in a wet, exposed fixture away from the lights you sleep under. Nilight says its 18W flood LED pods are 18 W each, 1260 lumens, 9 to 30 V DC and IP67 (waterproof to 1 metre for 30 minutes). A pair is 36 W, about 3 A at 12 V. Use a grommet where a wire passes through the body.
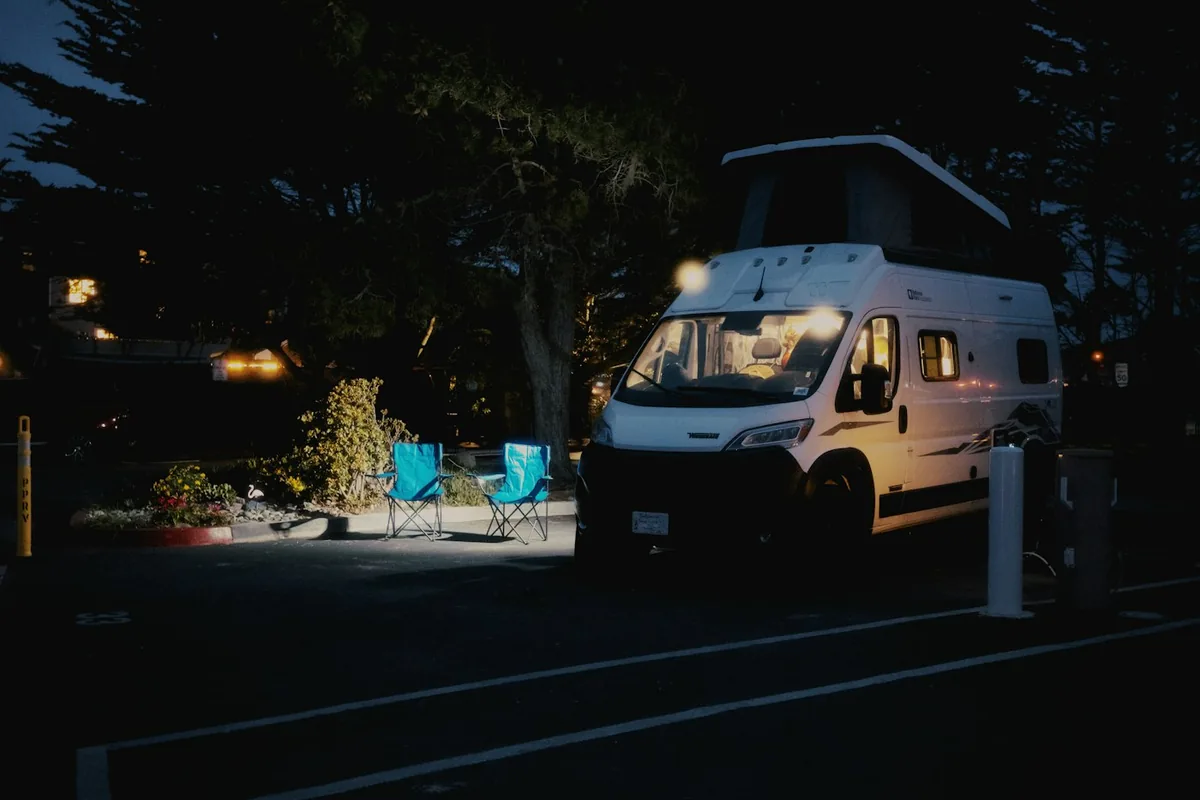
Wiring the Fuse Block, Circuit by Circuit
- Mount the block and busbar on a solid, dry surface, preferably in an enclosure (Victron), close to the battery so the thick cables stay short.
- Run the thick positive from the main fuse holder (and switch) to the block. Victron says this cable should equal the combined cross-section of the cables to the equipment.
- Run the thick negative from the battery, through the shunt, to the busbar.
- One pair of wires per load: positive to its own fuse slot, negative to the negative bus. Inside lights, outside lights, USB sockets, fridge and pump each get a pair and a fuse.
- Label every circuit and write the fuse size beside it.
- Fit the main fuse last, then check polarity at the block with no loads connected: red probe on the positive stud, black on the negative bus. A minus sign means plus and minus are swapped. Fix it, then add loads one at a time.
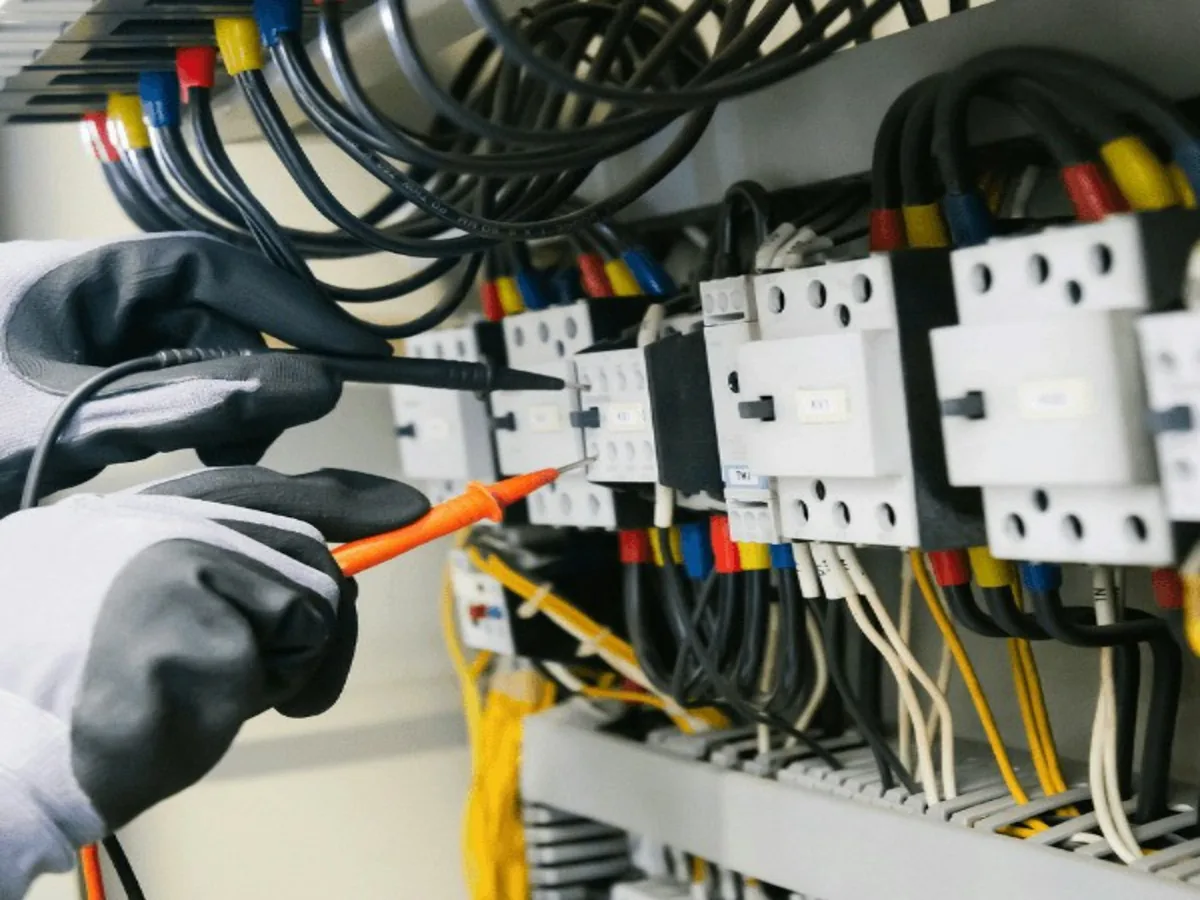
Choosing a fuse in three steps (the Blue Sea method)
- 1. Maximum. Find your wire size in Blue Sea's fuse chart. Blue Sea's example: a single 4 AWG wire outside an engine room allows up to 150 A. Wires bundled in a loom allow less.
- 2. Minimum. Multiply the device's amps by 125 percent. Blue Sea's example: 80 A becomes 100 A.
- 3. Choose between them. Blue Sea suggests near the middle; for one consumer, Victron says match the consumer or the cable, whichever is lower. If a maker's fuse value is too high to protect the wire, use thicker wire.
Example with our lights: two 15 W Kohree fixtures draw about 2.5 A, so the minimum is about 3.1 A; two 18 W Nilight pods draw about 3 A, minimum about 3.75 A. The 5 A fuse in the kit clears both. Blue Sea's chart allows a bundled 14 AWG wire up to 25 A on a blade fuse, so 5 A sits well inside it. Your loads and runs will differ; for the fridge and pump, read the label.
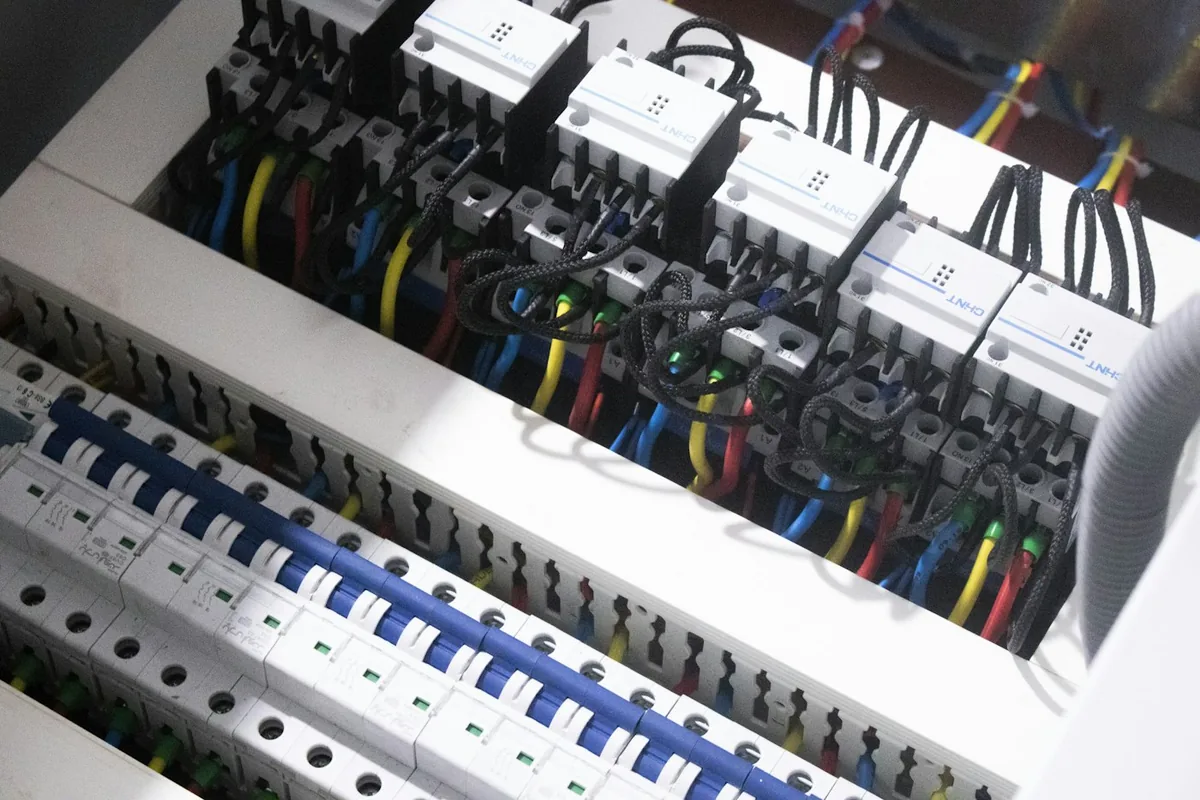
Safety First: Where Chenzo Went Wrong, and What to Do Instead
Chenzo, in his own words
- "Rats eating my cables."
- "The plus and minus we turned around. We had the cables and we had to do the plugs on top of them, and one friend was helping and he changed them. Not nice."
"So you have to be careful for fire, really be careful, and please use the right fuses. So important, that can save your life. You don't want to be in a burning car or a burning caravan."
- Fuse every circuit, close to the battery. Victron: each consumer needs a fuse in the positive cable, because a fault can cause a very large current and a fire. Blue Sea cites the ABYC seven-inch rule (Blue Sea).
- Size the fuse to protect the wire. Blue Sea: always select a fuse size to protect the wire according to its rating. A wire that is too small can overheat and possibly start a fire.
- Check polarity with a multimeter before you connect any device. Fluke explains that a negative symbol appears when the probes touch opposite terminals (Fluke). Trust the meter, not the colour of the wire, and check helpers' work too.
- Crimp, do not twist. Victron: undersized wiring or bad contact can cause a fire, so use quality lugs, the right tool, and tug each crimp.
- Protect cables from rubbing and animals. Use sleeving where wires pass through metal, mind the heat (Victron), and consider rodent-resistant sleeving where rodents live.
- Isolate before you work. Victron: removing the main fuse isolates the battery. Use insulated tools and never short a battery.
15. Smoke alarm: no wiring to get wrong
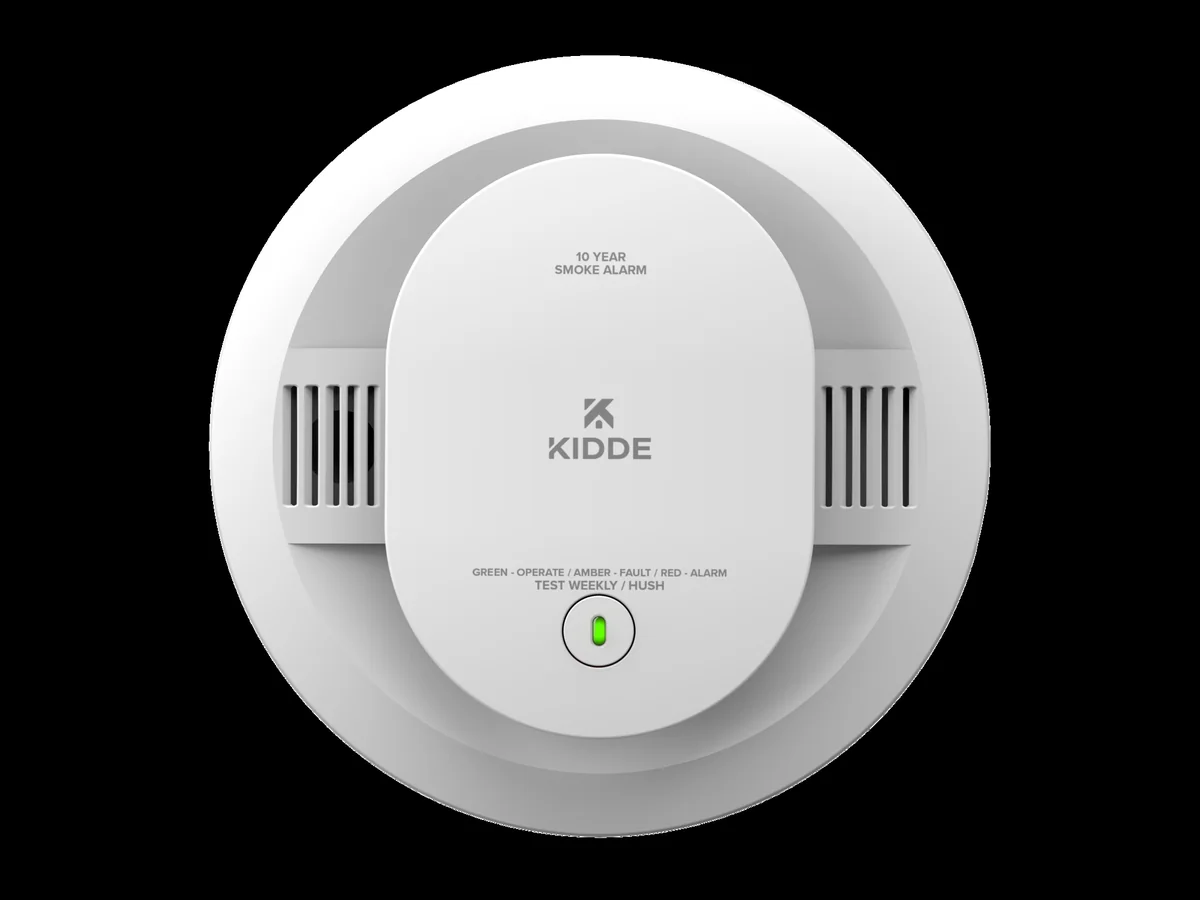
Kidde 20SD10 Smoke Alarm
The Kidde 20SD10 smoke alarm runs on a 10-year battery. Kidde says there are no battery changes for 10 years, and the alarm beeps to remind you to replace it 10 years after it is powered. It is designed for homes, so check its temperature and humidity limits against where your van parks and sleeps.
16. Fire extinguisher: within quick reach
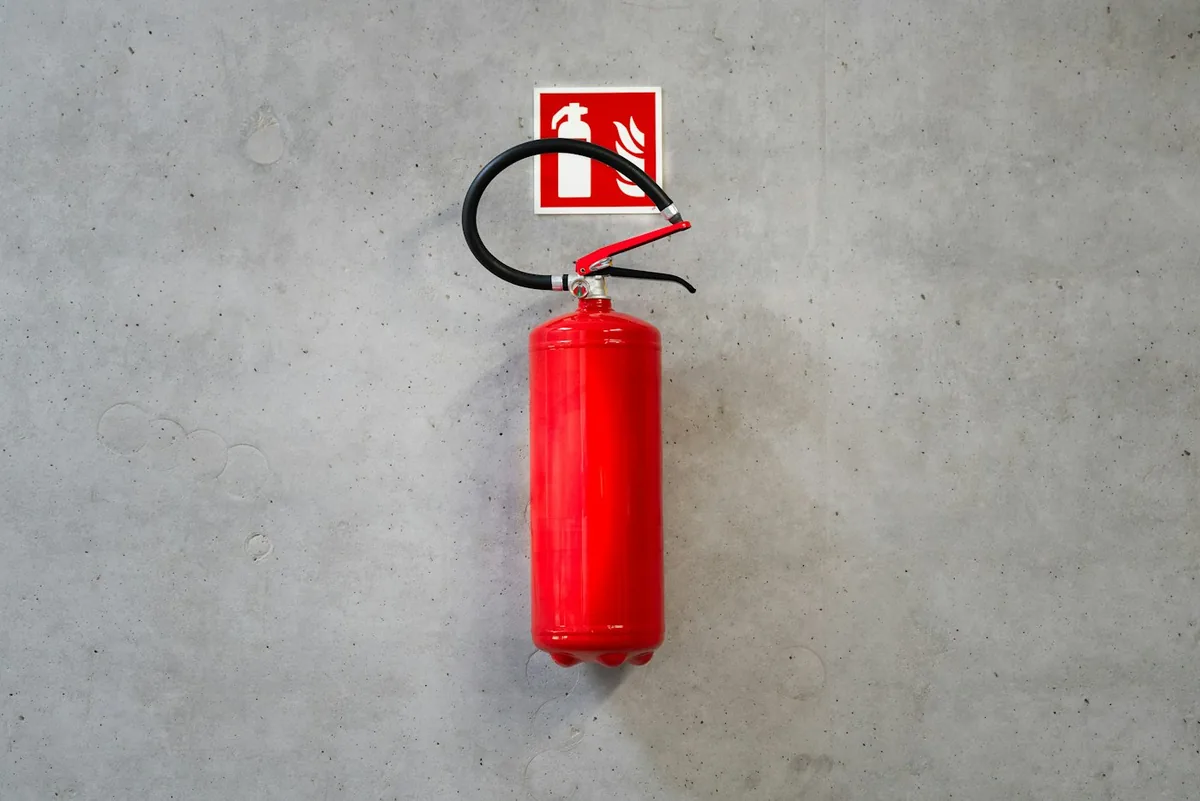
Kidde Pro 210 Fire Extinguisher, 2-A:10-B:C
The Kidde Pro 210 extinguisher is UL rated 2-A:10-B:C, covering ordinary combustibles, flammable liquids and energized electrical equipment. Kidde lists 4 lb of agent, 6.5 lb total, 13.9 inches high, rechargeable by a certified professional. Mount it where you can reach it fast, and service it as Kidde advises.
Please read this
This is general explanation, not an installation manual. Victron's own manual says electrical work should be carried out by a qualified electrician and that local rules can differ from its advice. Anything with 230 V or gas is for a professional. Have a qualified installer check your installation before you rely on it.
Fire is one risk. The other one you cannot see or smell is carbon monoxide from a gas hob or a heater, so read our carbon monoxide detector for camper van guide before you finish the wiring.
Which Part for Which Job
| Part | Main feed from the battery | Each circuit (lights, pump) | Every build |
|---|---|---|---|
| Thick cable, lugs and crimper | Yes | No | Yes |
| Main fuse and terminal fuse block | Yes | No | Yes |
| Main battery switch | Optional | No | Optional |
| Battery monitor (shunt) | Yes | No | Optional |
| Busbar | Yes | Optional | Optional |
| Fuse block and blade fuses | No | Yes | Yes |
| Wire for each circuit | No | Yes | Yes |
| Sleeve or conduit | Yes | Yes | Optional |
| Smoke alarm and extinguisher | No | No | Yes |
Key takeaways
- Every consumer gets its own fuse on the positive cable, plus a main fuse at the battery.
- Fuse the wire, not the device: above the load, below what the wire can carry.
- Use stranded, tinned copper, quality lugs and a real crimping tool.
- Check polarity with a multimeter before you connect any device.
- Protect cables from rubbing and animals, and fit a smoke alarm and an extinguisher.
- Have a qualified installer check your installation.
Our Setup: A Self-Built Renault Master and Seven Years in Europe

Chenzo, founder of NomadsToolsLab
Chenzo travelled for seven years in Europe and lived off grid: "I could park it anywhere and I could just have my light, energy, electricity, internet, things like that." His van was "a Renault Master, a new one, the newest, and I built it myself. It was just a normal van and I built everything inside."
Power came from panels on the roof plus one stronger panel he put outside on a long cable. No generator: "I had this thing where you can plug into the solar panels and it was charging it inside the battery, and then you can plug in everything inside. It was a mobile thing." That is a portable power station. He travelled through Portugal and Spain. We do not know his brands or wattages, so we list none; the parts here are the ones we would start from today. For the power side, see our solar panel guide and power station guide.

Wondering whether a place is really green? See our guide to eco stays and labels.
Protect those cables too: how to stop rats chewing wires in a van. For the full build, see cargo van conversion for beginners in 5 steps.
If the battery goes flat anyway, see the best jump starter for a diesel van.
FAQ
Where does the main fuse go in a camper van?
On the positive cable as close to the battery terminal as you can. Victron says a DC system should always have a main battery fuse before the cables branch off. Blue Sea, citing the ABYC, puts protection within seven inches (175 mm) of the battery connection.
How do I choose the fuse size for a circuit?
Blue Sea's method: multiply the device amps by 125 percent for the minimum, find the wire's maximum in the fuse chart, and choose a fuse between the two. The fuse must protect the wire.
Do I need a main battery switch?
Not always. Victron says a switch helps with maintenance or storage, but removing the main fuse also breaks the circuit. If you fit one, switch only the positive cable.
Can I wire a camper van myself?
You can learn the principles from the manuals, but Victron says electrical work is safest done by a qualified electrician. Have a professional check your work, and leave 230 V and gas to one.
Affiliate disclosure. This post contains affiliate links. If you click and buy something, this site earns a small commission at no extra cost to you. Picks are based on published specs, independent reviews and manufacturer information, and we only recommend what we would use ourselves. As an Amazon Associate I earn from qualifying purchases. Read the full affiliate disclosure. Amazon and the Amazon logo are trademarks of Amazon.com, Inc. or its affiliates.
Your next step
 Best Portable Power Station for Digital Nomads